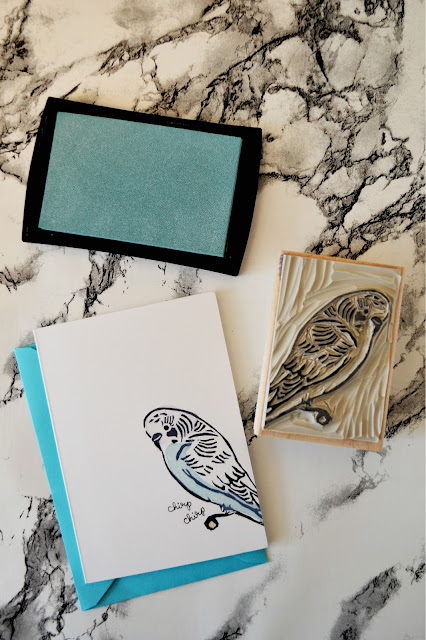
If you're a follower of any of my social media accounts, you know that I love carving my own stamps. I was hoping to teach a class on it at work, but it just hasn't worked out, so I'm doing a mini how-to here on the blog! Thanks to UncommonGoods, I was able to try out
Yellow Owl Workshop's Carve-A-Stamp Kit. It's a great kit for someone just starting out!
If you're in search of more crafty kits or gift ideas,
UncommonGoods is your kind of website. Their goal is to introduce you to up-and-coming artists, designers, and small businesses that make unique products. They also focus on sustainability, both in the products they sell and the way they run their business! To read more about their company,
visit this page.
Okay, down to business. I always have an idea, or little obsession, I wanna turn into an image. Sometimes I draw it directly onto my rubber block, but usually I sketch out some different versions before making a decision. This bird was a little more complicated, so it took more research.
When designing your stamp, consider how you want it to print. Do you want your image to print solid,
like this crystal? Or do you want to have lots of white space with the printed part being thin detail lines? If you're just starting out, I recommend coming up with a design that prints like the crystal. It's much easier to carve.
If you get the kit, it comes with everything you need. Not shown: a little pencil, a sheet of ideas, directions, and a transfer sheet. I have a box of vintage carbon paper, so I usually use that to transfer my image. Remember: your image will be reverse once carved! This is critical if you decide to carve a word or phrase. Make sure you carve the word backwards so it reads right when printed.
The set of carving knives in the kit are great for starting out, but if you want to do more detailed stamps, you're gonna need something sharper. I use Speedball, especially the smallest blade, No. 1, which is a V-shaped blade. Once I have my image transferred, I use this blade to carve out the general shape of the image. Carefully carve around the smallest details, then work up to the bigger blades for the larger areas. Carving the smaller areas first will give you a bit of a buffer when you switch to the bigger blades.
When you feel like it's pretty complete, use black ink to do a quick print. This will help you find any areas you missed. You'll probably also find that the background has to be carved quite a bit deeper than expected, or it will leave little marks. Be careful not to carve all the way to the wood, though.
For the blue detail, I used a chunk of MOO Professional Carving Block that I cut down to a smaller size. You can get it at Blick and on Amazon. The block that comes with the kit is double-sided, but I didn't want to waste it for such a small, plain stamp.
All done!
♠


