Showing posts with label handmade. Show all posts

Sunday, December 13, 2015

DIY: Tasseled Star Ornaments

Man, I am so crazy about the holidays. Just ask my husband, poor guy. We've been listening to Christmas music since like early November. For the most part, Etsy is to blame. I have to get my Christmas items started early or they never get listed! I've finally finished with the stuff to sell and now I get to simply focus on making pretty things for my own tree and for gifts.

This week, I had the idea to make ornaments for my friends. I have way too much Sculpey and embroidery floss left over from other projects, and a lifetime supply of glitter. These supplies all combined perfectly into these fresh and festive little star ornaments!


Here's what you'll need:

Sculpey or Femo Polymer Clay
A small cookie cutter
Embroidery Floss
Fine metallic thread
Small Jumprings
Jewelry Pliers
Jingle Bells
Glue & Glitter or Gold Enamel
Another type of thread for stringing


Step 1: Cut & Bake
Set your oven to 275° (or whatever degree the polymer clay packaging says). While it's heating up, roll out your clay. I rolled mine slightly less than a 1/4" thick. Cut out your shapes with the cookie cutter. Use a toothpick or other pointy tool to make a hole for hanging. Carefully peel them off your work surface and place on a baking sheet. When your oven is ready, follow the directions on the clay package. I baked mine for 15 minutes, which seemed to be perfect.


Step 2: Tie your tassels!
While your shapes are baking, you can make some tassels. They're pretty quick and easy. I got my method from the DIY blog, Maggie Holmes Design. I made my tassels a little smaller than hers by wrapping them 5 or 6 times around a piece of 4bar cardstock.


Step 3: Add some sparkle 
The glitter in the photo above was $1 at Target.
My favorite, though, is Diamond Dust. It's basically crushed glass. Mine is in a vintage paper canister and weighs a pound, but if you want a smaller amount, you can still buy it at JoAnn Fabrics.


I also used gold enamel (mine is called Liquid Leaf) to add dots to a few of the stars. Gold acrylic paint should work just as well and isn't has toxic.

Step 4: Assemble
When everything is dry, string a bit of thread or embroidery floss through the hole you made and tie. Use the jewelry pliers to open your jumpring just enough to add the bell and then close it around the string you just tied onto the star. You're all done!


Wishing you all a Merry Christmas & a Happy New Year!

Wednesday, October 7, 2015

Lately: Autumn 2015

Autumn in Seattle is usually as perfect as our Springs, but this year has been odd (not unlike the rest of the year). It's been unseasonably warm (in the 60s to 70s) and the leaves are too tired to do much. I can see the color changing a bit but most trees seem to have lost their leaves overnight. Like the rest of Seattle, they've had more than enough sun for one year. Today is cooler and the rainy skies are a welcomed sight. My plan for the day: coffee and a late breakfast, a bit of cleaning, and then, later, I'll meet my sister-in-law at the bins for some thrift shopping. We're going to bingo this weekend and shoulder pads and sequins are required.

If you have instagram, you're probably already tired of pumpkin pictures.

My love affair with malachite continues with my newest handcarved stamp. I was happy when my dad identified it as malachite, but he said it was mostly because he knew me. I think I might try incorporating it into my Christmas cards.


Singles are available on Etsy right now, and come with a shibori-lined envelope in Paper Source's limited edition color, Spruce.


Thursday, May 21, 2015

New Obsession: Faux Malachite Ring Bowls


If there's anything I love more than malachite, it's faux malachite. These little bowls are just as fun to make as they are beautiful. I can't stop making them, so I have more than enough to sell on Etsy! There are two variations: gold edge or copper edge. I prefer the copper. How 'bout you?


Monday, November 10, 2014

The Tiniest Party Animals

rhino, glitter, coral, pastels, tassels

I've been busy, busy, busy! I feel like the blog has taken a back seat, but Etsy is going so well I can barely keep up! Last month, I made all of these little ornaments and have finally gotten around to listing them all on Etsy.

They're painted by hand, then they're decked out with tissue paper tassels I cut and roll by hand. Baker's twine makes them perfect for hanging in the tree to topping a gift.

This little giraffe was the first ornament I sold on Etsy. It went to someone very fancy (I can't say who).


The silver bear is one of my favorites, and the dino to the right comes as part of a 4 piece set!

You can also order an animal menagerie! If you're dying for a giraffe or elephant, just message me and I'll make it happen!

Wednesday, October 22, 2014

It's raining gemstones!

gems, green, fleur d'elise, handmade, art, home decor

But mostly it's just raining. A lot. It seems to do nothing but, whenever it's my day off. My plan was to photograph clothes for Etsy and maybe even take some outfit photos, but noooo. It was sunny yesterday and the day before -_-

gems, jewels, geode, geometric, fleur d'elise, coral, neon
I'll happily keep making these prints, though. I carved the stamps myself! It's my favorite sit-down activity right now. They're up for grabs on my Etsy shop along with a few other cards and things I've made. My co-worker and best customer, Lorea, has already bought two. She always loves everything I make, and I love her for that. Or it just means we have the exact same taste in everything.


Sunday, August 24, 2014

GIVEAWAY: Snail Mail Fun Pack

pin to win, neon, envelopes, coral, stickers, confetti, gold

Oh hello again! Come back for more have you? Well, if you're in a crafty mood, thanks to this post on making your envelopes très fabuleux, then I've got a giveaway just for you!!


pin to win, neon, envelopes, coral, stickers, confetti, gold

One winner will get a fancy little starter pack chock full of fun goodies to make their snail mail stand out.

4 Coral flag labels
3 envelopes & flat cards (one is hand-bordered in gold)
2 gel pens
1 A2 clear envelope & 1 4bar clear envelope
A tiny envelope of confetti
Seals, labels, & neon stickers

pin to win, neon, envelopes, coral, stickers, confetti, gold, #pintowin


We have a winner!
#28 Caryn!

Giveaway ends 9/7/14
US Residents Only (sorry)

Saturday, August 9, 2014

Geode Birthday Invitations

Working at Paper Source is really starting to get to me. The other night I came home and decided to make some invites for my birthday party. These came out.

gold, coral, envelope, invitation, gems, crystals, dinosaur, splatter paint
Honestly, I had a bit of inspiration, but they turned out even better than I'd imagined. I'm really proud of them and had so much fun assembling all the pieces.

gold, coral, envelope, invitation, gems, crystals, paper source
I decided to go with 3 different Paper Source colors and black. The invite itself is printed on Rhubarb, which is being discontinued. It's on clearance on the Paper Source website! The other colors are Coral & Lake, and I subbed Fig envelopes (not shown) for Rhubarb, since they aren't available anymore.

gold, coral, envelope, invitation, gems, crystals, dinosaur
When you're creating an invitation suite, accents are where it really starts to get fun. They can be as intricate or as simple as you like.The border is done with a gold paint pen. For the sashes, I found a crystal pattern on Google images. That was a little trickier, because I had to mess around with the size so it wouldn't print all blurry.

I made gold-spotted black seals to finish off the envelopes. If you'd like your own set of custom seals, you can order them through my Etsy shop.

Thursday, February 6, 2014

DIY: Make Your Mail Glitter!


Here's a simple way to make your Valentine's mail even more special.

What You'll Need:

1 address label
A cute card
A cute friend

Step 1:
Fill out your card. The mushier the better.

Step 2:
Just kidding. That's gross.

Step 3:
Seal it up in its paper envelope, then slip it into the cellophane envelope. You can get a package of them here.

Step 4:
Throw in a pinch of glitter and a pinch of confetti. Seal up the cellophane. Make sure you don't fold the cello envelope smaller than it really is (tip from USPS). Use the washi tape to seal any gaps where the glitter escapes.


Step 5:
Address the envelope. Add postage, duh.

Step 6:
Fill someone's mailbox with love!

P.S. I made that Grumpy Cat stamp! I've made so many cards with it. They watch over me while I sleep.

Monday, September 16, 2013

Giveaway: Sunglasses + Handmade Notebook


I've added a new section to my Etsy shop that features nothing but lovely little stationery sets and notebooks lovingly handcrafted by Yours Truly. If you're a sucker for paper and stickers, definitely go take a look! I'm selling handpainted seals, custom stationery sets, greeting cards, and splatter painted notebooks. To promote my new venture, I'm giving away one of my notebooks, a nice pen, and, to sweeten the pot, a pair of American Deadstock sunglasses!

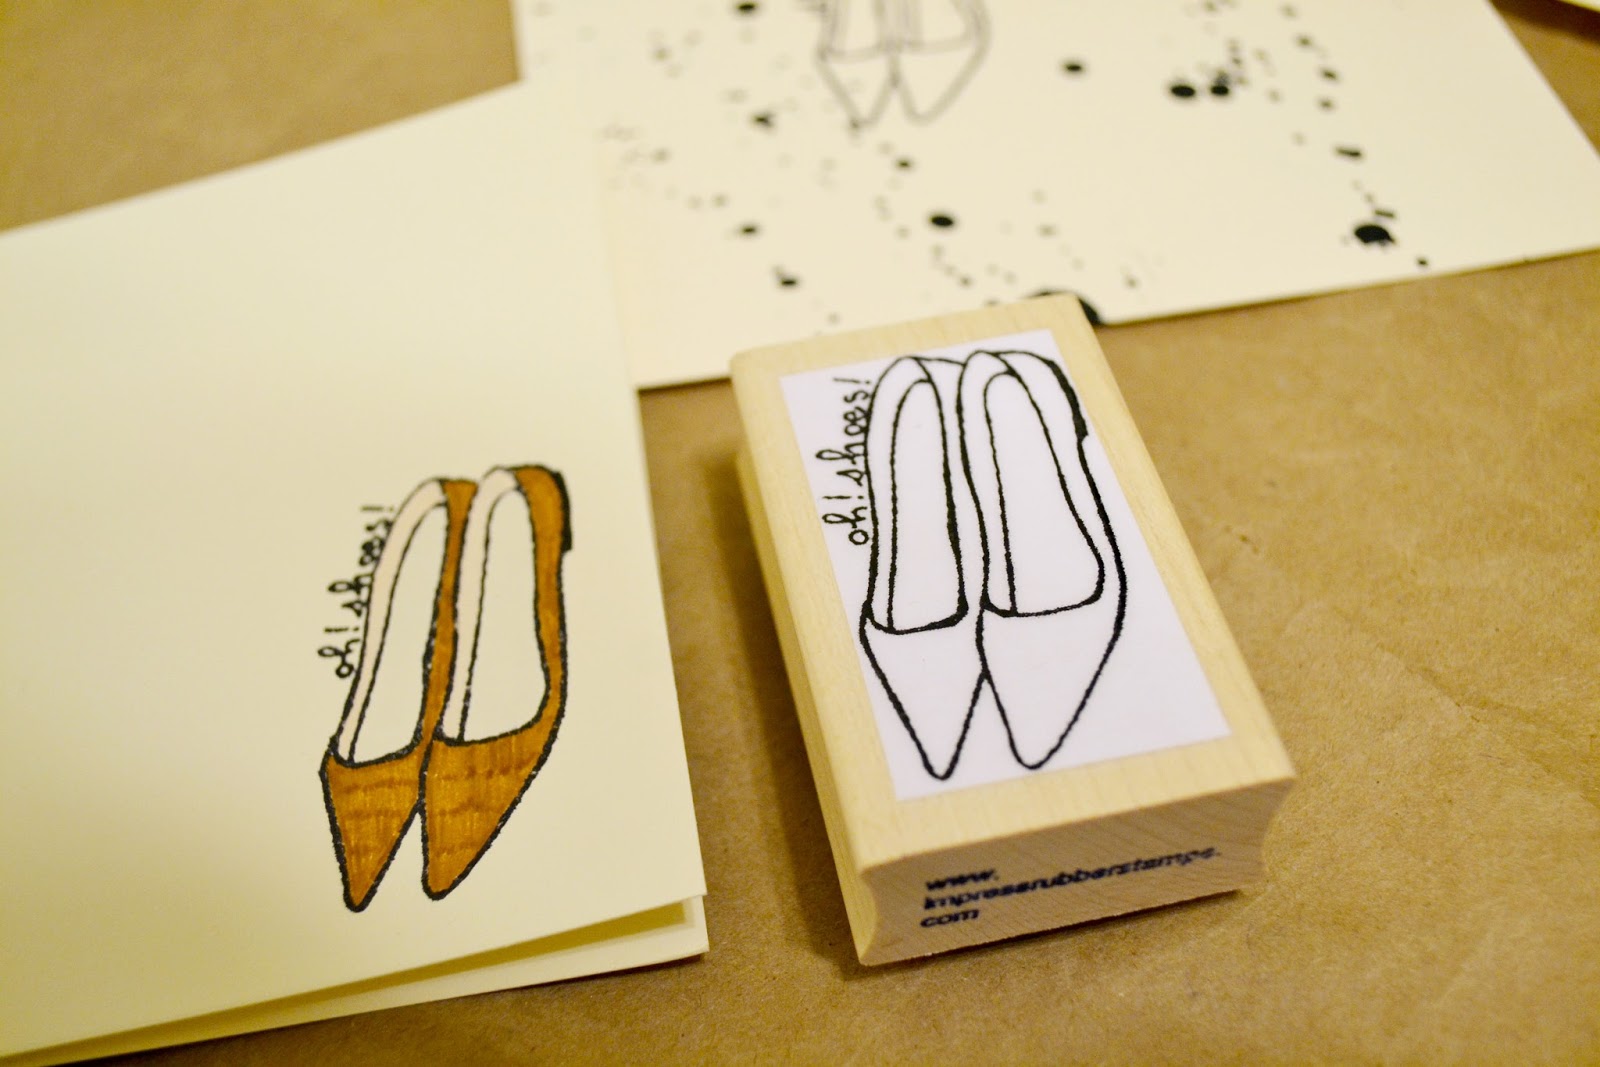
The notebook is graced by these little shoes that I drew and then had turned into a stamp at Impress Stamps.


American Deadstock took a while to ship me a pair of glasses that I ordered, so to make up for the delay, they sent me two extra pairs! This was more than generous, so I'm spreading the love. I'm giving away a pair of their O'Malley frames in black. They're super sleek and will go with everything!

To Enter:

1. Favorite my Etsy Shop (required)
2. Follow Fleur d'Elise on Twitter (required)

Extra Entries:
+1 Tweet about the giveaway

Thursday, February 14, 2013

DIY: Valentine's Day

diy, decorations, handmade, hearts, valentine's day, fleur d'elise

I love this holiday. It's always a wonderful excuse to buy candy for people, make cards, and just generally shower loved ones with little gifts and affection.

I've been pretty busy this time around, and have V-Day plans that extend into the weekend!

diy, handmade, watercolor, fleur d'elise
I made a card for my husband and bought him some chocolate covered marshmallows at Trader Joe's. I'll also make a dinner of some sort, but have yet to decide on the menu.

I've been cleaning and crafting all week in preparation for a small tea party I'm hosting on Saturday. It will only be the second time I've invited more than 4 people over to my apartment for this sort of thing. We didn't have a couch for a while, so it was hard to sit too many guests. Well, now I've got a couch and a clean apartment, so bring it on! 

decorations, diy, hearts
Here's an easy DIY decorating idea:
I used vintage magazines, wrapping paper, and flocked vinyl to create various hearts. Then I just simply taped them to the wall above where I'll be setting up the tea. They're so cute, I'm tempted to leave them up forever...


Cupcakes and Mexican wedding cakes are in the works, and I may also make this biscuit recipe from last year. I attempted to make hard candy jewels for favors, but my goodness, is candy making tricky! Not sure I have the energy to try a 5th batch :-/

Well, hope you all have a wonderful day full of romance and chocolate!

Saturday, February 2, 2013

Finally, an Etsy shop! And a giveaway!


Sooo... I just opened my first Etsy shop! I've been thinking about it forever (like so many other people, I'm sure) and I just decided to take the plunge. At the moment, I'm only selling custom stationary sets, but I have semi-baked plans to sell vintage/thrifted clothing and accessories, as well.

stationary, paper, envelopes, fleur d'elise, handmade
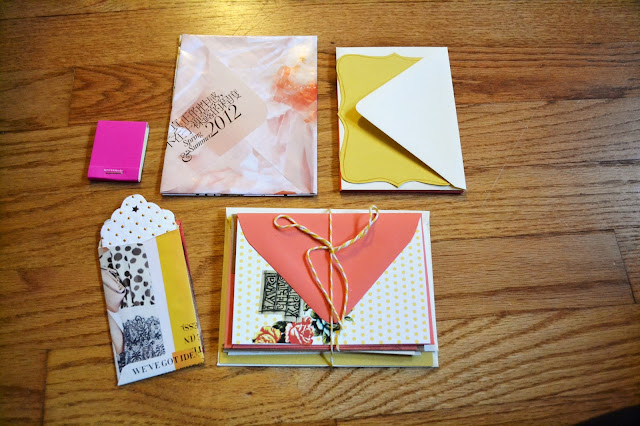
 The stationary sets are one-of-a-kind and made to order. I will personally custom-assemble each set with the recipients favorite colors and likes in mind. Think of me as your personal stationary stylist!


The sets in these pictures were Christmas gifts for two of my close friends. I had a lot of fun putting them together and personalizing the letterhead. It's work, but it's fun work :) 

Click here if you're interested in learning more about them or would like to order a set.

stationary, paper, envelopes, fleur d'elise, handmade

AND NOW FOR THE GIVEAWAY!

The Prize:
One lucky reader will win a smaller version of my stationary sets, personalized with their favorite colors. 

The Rules:

1. LIKE the Fleur d'Elise Facebook (required)
2. Leave a comment telling me what 2 colors are you favorite (required)
3. Promote this giveaway via Pinterest, Twitter, Facebook, or your blog (required)
4. Make sure to complete each step on the Rafflecopter to get credit for your entries!

U.S. ONLY. Sorry!!

You can earn extra entries each time you promote this giveaway! And 2 extra points if you favorite  my Etsy shop!


Monday, March 26, 2012

DIY: let's make a card!

Nothing tops a handmade card! Here is a simple design that you can personalize for any occasion. Remember, it doesn't have to be perfect! I'll walk you through the steps and you'll see it's easier than it looks :)
Materials:
(Click on them for sources)
- pencil & eraser
- Marker in a fun color
- Ruler (not pictured)

Step 1. Sketch out 3 flag poles and 2 flags. The flags should be about 1/2 inch wide. Each pole should be a different length and they should point away from each other so there's room for each flag. No need for perfection! Use your eraser if you need to!
Step 2. Add a pattern to one flag, if you want, or you can leave it blank. Then, carefully go over your pencil lines with the super fine pen. Let dry for a couple minutes.
Step 3. While the ink is drying, cut your ribbon. Start with 2 inches to leave room for mistakes. Fold the ribbon end in half and make a diagonal cut that slants away from the end. (Click here for more detailed directions)
Step 4. Color in one flag with the colored marker and write a message such as "happy birthday" or "thanks" in the other flag. I wrote "hurrah!" because I made my flag too small. A super fine pen means you can write very small, though! Now use your eraser to get rid of all the pencil lines.
Step 5. Carefully apply adhesive along half of the back of the ribbon. Don't apply it to the v-cut end, since it can make the ribbon unravel. Trim up any loose threads.
Step 6. Place the ribbon on the empty flag pole and gently press to adhere it to the paper. Lift up the unglued end and apply a little adhesive directly to the paper.

Don't forget to sign and date the back! And don't hesitate to ask if you're having trouble or don't get one of the steps.


There you go! A nice little card to give to someone you luuurrrve (that's British for "love")

Blogging tips