Showing posts with label how-to. Show all posts

Wednesday, April 24, 2013

Look of the Day: How to Style a Baseball Cap #2

baseball cap, chambray, romper, vintage, polka dots, street style, how to, spring 2013, fleur d'elise

Look #2: Vintage 
baseball cap, chambray, romper, vintage, polka dots, street style, how to, spring 2013, fleur d'elise, accessorize
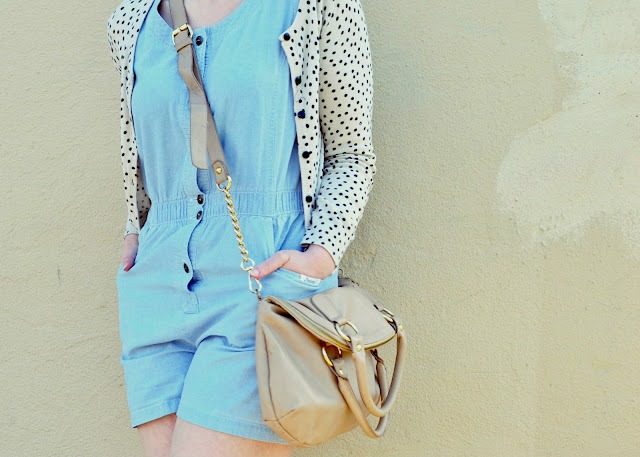
When I first put this look together I didn't expect it to look so vintage. I just liked the combination of blues and polka dots. Looking at these pictures now, it kind of reminds me of "A League of Their Own". 


baseball cap, chambray, romper, vintage, polka dots, street style, how to, spring 2013, fleur d'elise, accessorize
 If you prefer a more retro look, pair your hat with classic, lightweight fabrics like chambray, searsucker, or other cottons textiles. Denim works, too.
baseball cap, chambray, romper, vintage, polka dots, street style, how to, spring 2013, fleur d'elise, accessorize
 Again, you can go in a tom-boy direction, but add "girly" details which contrast nicely with the more androgynous pieces. Polka dots are perfect, or simply add pearls and pointed flats. Here's a good example featuring a 50s style a-line skirt. Love her style!

baseball cap, chambray, romper, vintage, polka dots, street style, how to, spring 2013, fleur d'elise, accessorize
If you're not sure if a hat will flatter you, try a couple in colors that flatter either your skin tone or your eyes. The blue of my hat matches my eyes and is what eventually convinced me to buy it.

This is my favorite photo from the test shots I took indoors. It is currently my profile picture on Facebook. My dog looks unamused, as usual.
baseball cap, chambray, romper, vintage, polka dots, street style, how to, spring 2013, fleur d'elise, accessorize, mini corgi
Thrifted hat - Thrifted chambray romper - H&M cardigan - Aldo bag - crappy black flats
♠

Monday, January 7, 2013

DIY: Easy picture hanging

ampersand, decor, DIY, bedroom, how-to, picture, hanging, lifestyle, fleur d'elise

I am so bad with home projects, especially, when they involve tools. Mainly, I just don't have the patience, which I guess is kind of how I came up with this picture hanging technique. It doesn't require many materials, and you won't need any tools except for scissors.

ampersand, decor, DIY, bedroom, how-to, picture, hanging
 Another huge plus is that it doesn't involve anything heavy. The most dangerous thing is the thumbtack, so in the event of an earthquake (they're always a risk here in Seattle), the people sleeping under it won't have their heads smashed.

You will need:

1 thumbtack
1 spool of string
Small bulldog or binder clips
Art, photos, or postcards
Scissors


How-to:
1. Hold one end of your string to the ceiling and unspool until just about your headboard (or wherever you want it to end). Cut with scissors.

2. Firmly press your thumbtack into the wall, just before it meets the ceiling. Don't stick it in the ceiling. You'll find it's pretty hard to hang things from it.

3. Tie a small loop in one end of the string. Hang on thumbtack.

4. This next step takes a bit of concentration. Thread a clip onto your string and slide up to about the place you want it to hang. Thread the string back through again, so it's double wrapped, and tie a not to secure. 

5. Clip your first picture. This will help you decide where you want the second clip to hang.

ampersand, decor, DIY, bedroom, how-to, picture, hanging
6. Repeat Step 4. I wouldn't suggest hanging more than three pictures, as it might get to heavy for the tack to hold.
ampersand, decor, DIY, bedroom, how-to, picture, hanging, lifestyle, fleur d'elise

P.S. If you're wondering what the cards say, the top one has a line from a Dylan Thomas poem and the bottom card is lyrics from "Yellow" by Coldplay.
♠
Blogging tips